















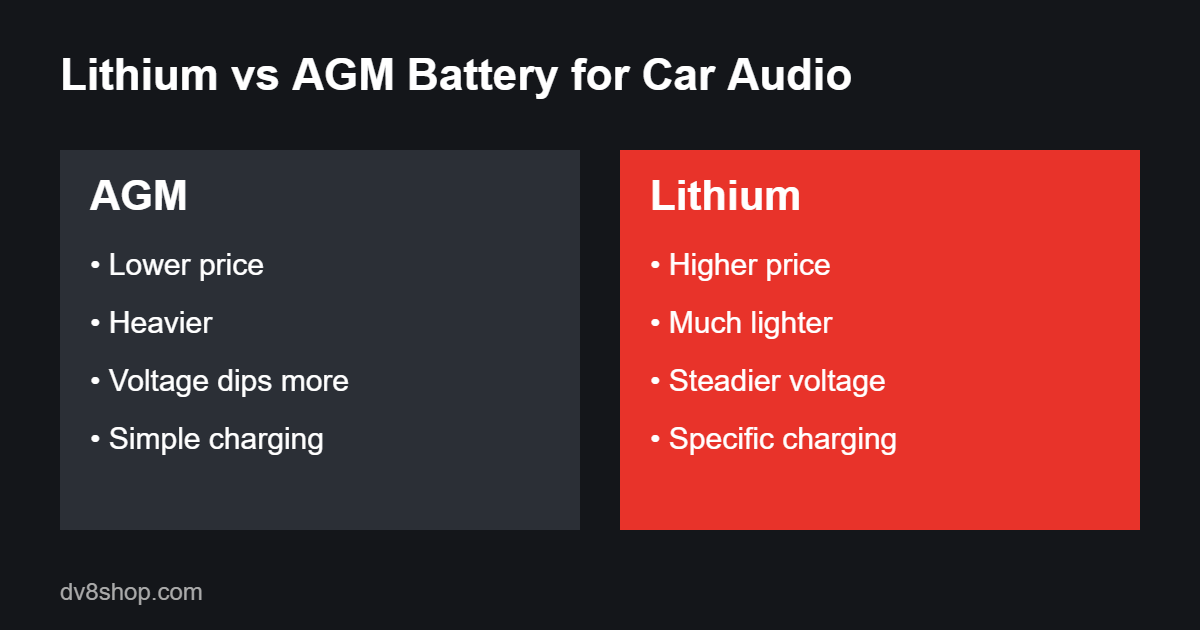
Lithium vs AGM Battery for Car Audio: Which One Should You Buy?
Lithium vs AGM battery for car audio: compare weight, voltage under load, lifespan and cost, and find out which one fits your system.
19 categories
20 brands
DV8
17 products / 2 categories
SoundQubed
125 products / 6 categories
Beyma
29 products / 2 categories
FI Car Audio
31 products
Every FI Car Audio product, together on one page.
Resilient Sounds
21 products / 2 categories
Stetsom
26 products
Every Stetsom product, together on one page.
Prodigy Audio
15 products / 2 categories
PRV Audio
189 products / 8 categories
Gately
50 products / 3 categories
Ruthless
17 products / 2 categories
Ill Customz
37 products / 2 categories
Limitless
17 products / 4 categories
BrandX
108 products / 5 categories
Galeforce
9 products / 2 categories
DS18
1,173 products / 15 categories
Nagy
11 products
Every Nagy product, together on one page.
Elite Sounds
7 products / 2 categories
Custom Speaker Pods
998 products / 4 categories
Voodoo Bikeworks
61 products / 9 categories
A big 3 upgrade is the first thing most installers suggest when your headlights dim every time the bass hits.
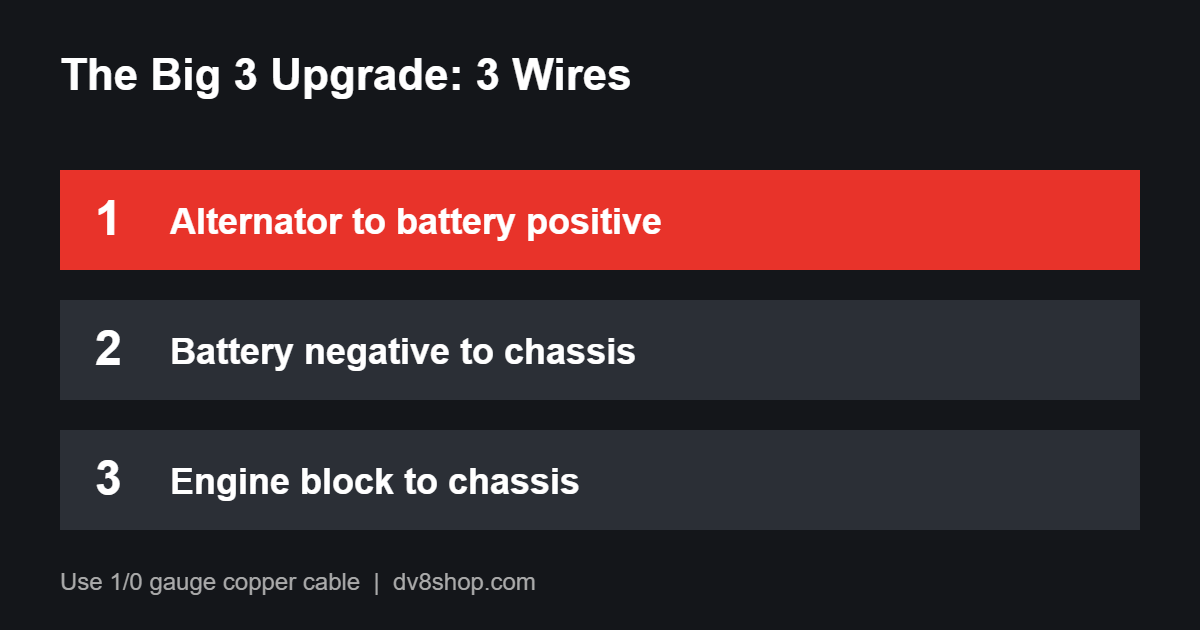
The big 3 upgrade means replacing or adding three heavy cables in your car’s charging system. Factory wiring is sized for stock electronics, not for a pair of power-hungry amps. Bigger wire moves current with less resistance, so your battery and alternator can actually deliver what the amps ask for.
The idea is simple. Current has to flow in a loop, and the loop is only as good as its weakest link.
| Wire | Runs from | Runs to |
|---|---|---|
| Alternator to battery | Alternator output post | Battery positive terminal |
| Battery ground | Battery negative terminal | Chassis |
| Engine ground | Engine block | Chassis |
Most people use 1/0 gauge wire for all three. Use real copper cable. Cheap aluminum cable with a copper coating doesn’t carry current as well, so it defeats the purpose.
You probably need one if your headlights dip with the music, your voltage drops under load, or you’re running more than about 1,000 watts of amplifier power. A big 3 upgrade won’t fix a weak alternator or a dead battery, though.
If you’re running a small system with one modest amp, the factory wiring is usually fine. Check your voltage with a meter first. If it stays above about 12 volts during loud passages, you may be okay for now.
When voltage sags, amps can’t produce clean power. That shows up as flat bass, distortion and clipping. A solid electrical base keeps voltage steadier, so the system sounds tighter at the same volume. Our guide on series vs parallel subwoofer wiring pairs well with this, since amp load and electrical supply work together.
The most common mistake is bad grounds. Sand the paint off the contact point on the chassis until it’s bare metal, then bolt the lug down tight. A painted or rusty ground will undo the whole upgrade.
The next mistake is skimping on terminals. Use quality ring terminals and crimp or solder them properly. Also, keep every cable as short as you can, and protect it from sharp edges and heat. If you add a fuse near the battery, use one rated for the wire.
First, disconnect the battery negative terminal. Then swap the short factory wire between the alternator and battery for a new 1/0 cable with a fuse near the battery if it’s required for your setup.
Next, run the new battery ground to a clean spot on the chassis. Last, add a heavy cable from the engine block to the chassis. Keep each run short, tidy and well secured. Reconnect the battery and check your voltage with the engine running and the system playing.
Not directly. It helps your amps get steady voltage, which can improve output and cut distortion when the system pulls a lot of current.
1/0 gauge is the common choice. Smaller systems can sometimes use 4 gauge, but never go smaller than your amp wire.
Often it helps, but if the alternator or battery is weak, you may also need a better battery or a higher output alternator.
Yes, if you’re comfortable working around the battery. Disconnect the negative terminal first and take your time.
For wire, terminals and batteries, check out dv8shop.com. You can also read how the power distribution works in this overview of an automotive alternator.
Lithium vs AGM battery for car audio: compare weight, voltage under load, lifespan and cost, and find out which one fits your system.
Component vs coaxial speakers explained: how each is built, how they sound, what installation takes, and which one to buy.
What size amp for a subwoofer? Learn how to match RMS power and impedance, with 4 easy examples and mistakes to avoid.