













Car Audio Sound Deadening: Where to Start and What to Skip
Car audio sound deadening explained: which panels matter most, how much material you really need, and 5 easy mistakes to avoid.
19 categories
20 brands
DV8
17 products / 2 categories
SoundQubed
102 products / 6 categories
Beyma
29 products / 2 categories
Trinity
39 products / 3 categories
FI Car Audio
31 products
Every FI Car Audio product, together on one page.
Resilient Sounds
21 products / 2 categories
Stetsom
26 products
Every Stetsom product, together on one page.
Prodigy Audio
15 products / 2 categories
PRV Audio
189 products / 8 categories
Gately
50 products / 3 categories
Ruthless
17 products / 2 categories
Ill Customz
37 products / 2 categories
Limitless
17 products / 4 categories
BrandX
108 products / 5 categories
Galeforce
9 products / 2 categories
DS18
1,173 products / 15 categories
Nagy
11 products
Every Nagy product, together on one page.
Elite Sounds
7 products / 2 categories
Custom Speaker Pods
1,017 products / 4 categories
You should upgrade your electrical system before you upgrade your car audio, and here is why. When you catch the bug for a bigger, louder car audio system, it is easy to fixate entirely on the fun stuff: massive subwoofers, high-power amplifiers, and custom enclosures. But if you drop a 2,000-watt or 5,000-watt amplifier onto a stock factory electrical system, you are setting yourself up for disappointment—or worse, burnt-out gear.
Your vehicle’s stock electrical system was engineered strictly to power factory electronics, stock lighting, and basic accessories. It is not designed to feed the massive, sudden current demands of a high-performance audio amplifier.
Before you bolt in your next big build, here is why you need to upgrade your electrical system, and why it needs to be your absolute first step.
An amplifier’s power output is directly tied to the voltage it receives. Ohm’s Law dictates that if your voltage drops, your amplifier’s efficiency and actual power output drop right along with it.
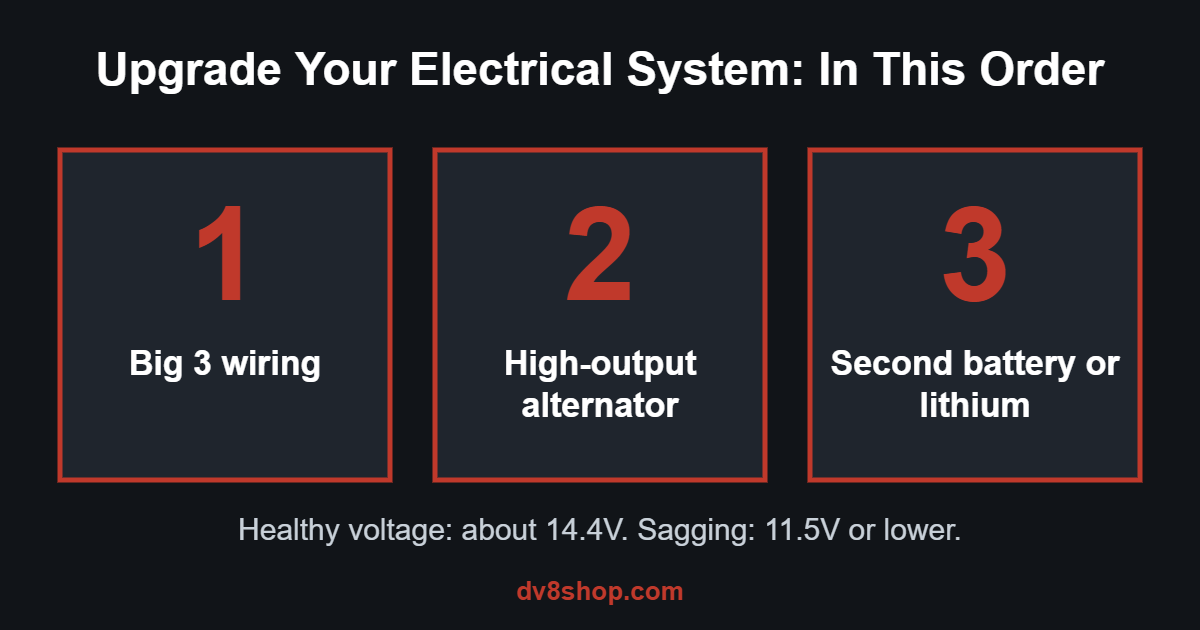
If your factory alternator and battery are struggling to keep up, your voltage might plummet from a healthy 14.4 volts down to 11.5 volts (or lower) the moment you drop a heavy bass note. When that happens:
Replacing blown subwoofers or fried amplifiers gets expensive fast. Protecting your gear starts when you upgrade your electrical system to a rock-solid power supply.
You can upgrade your electrical system in stages, and building a reliable high-output electrical system doesn’t have to happen all at once, but tackling these key upgrades in order will completely transform your setup:
If your headlights dim when the bass hits, or your battery voltage drops toward 12 volts or lower while the system plays, it’s time to upgrade your electrical system. A voltmeter on the battery terminal will tell you for sure.
Start with the Big 3 wiring upgrade, then move to a higher-output alternator if you are pushing past 1,500 to 2,000 watts RMS. A second battery or lithium bank comes after that. For the right power cable, see our amp wire gauge guide.
Choosing to upgrade your electrical system isn’t nearly as flashy as unboxing a brand-new subwoofer, but it is the ultimate difference between a system that rattles weakly and dims your headlights into oblivion versus one that plays loud, clean, and reliably all day long. Browse amplifiers, power wire and batteries at dv8shop.com.
Car audio sound deadening explained: which panels matter most, how much material you really need, and 5 easy mistakes to avoid.
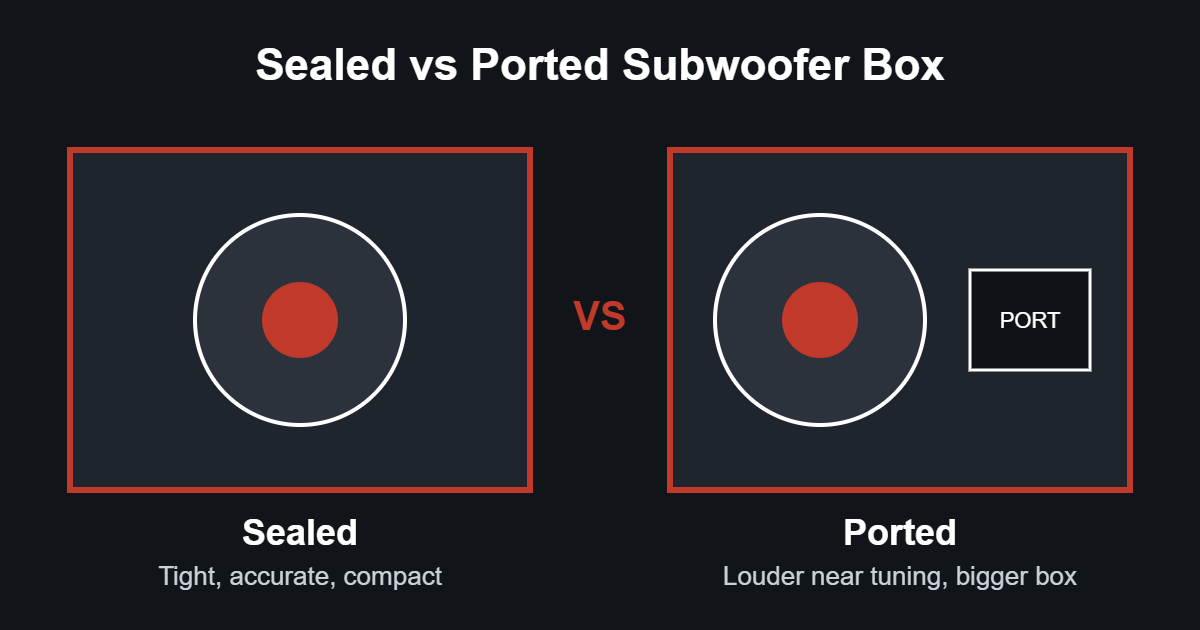
Sealed or ported sub box? Here's how each one sounds, how much space they need, and which fits your music, your car and your…
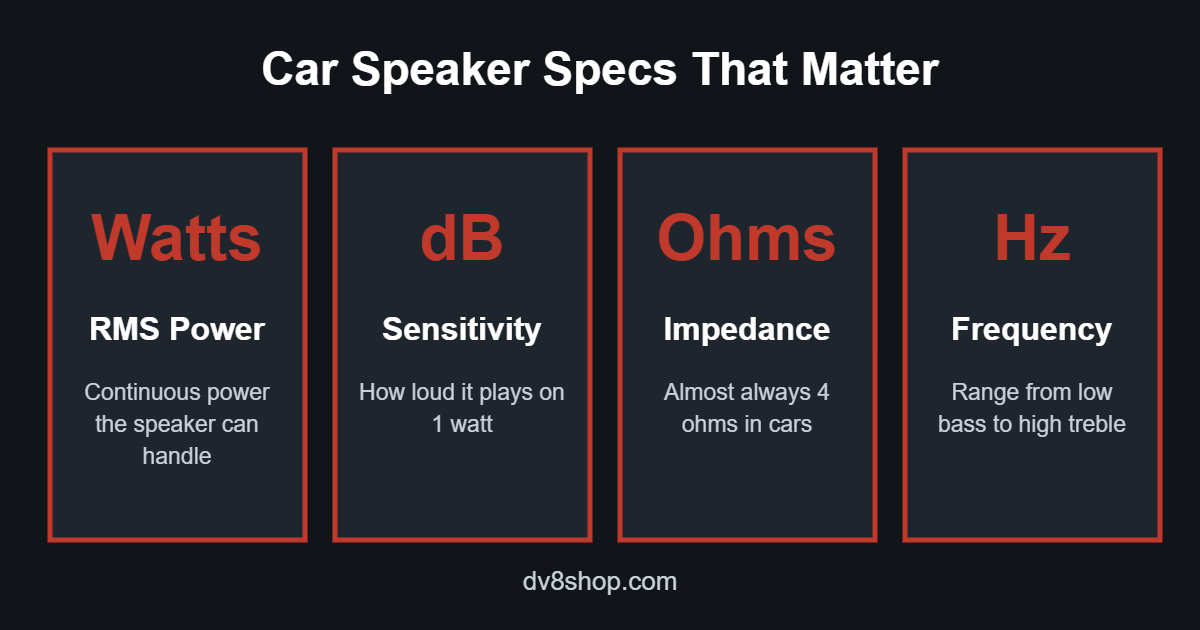
Confused by car speaker specs? Learn what RMS power, sensitivity and impedance mean and how to match speakers to your amp or stereo.